
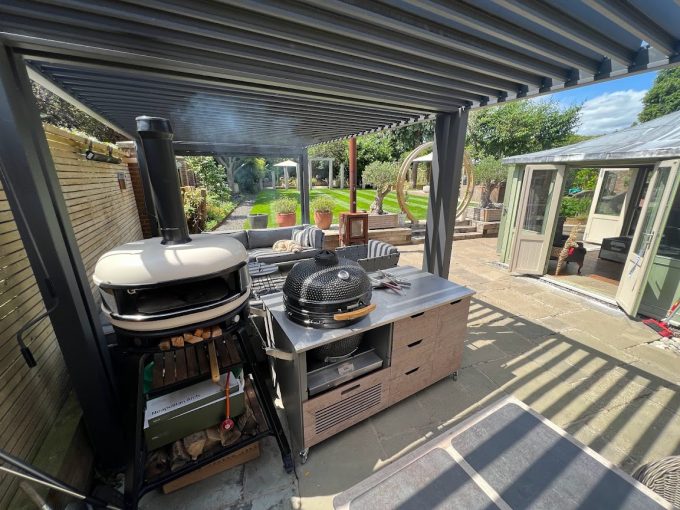
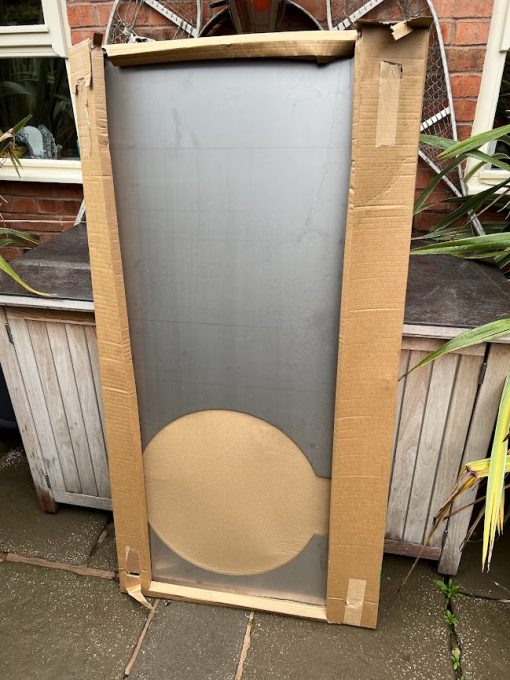
How To Convert & Install Konnected Joe In KamadoSpace Infinite Island Table
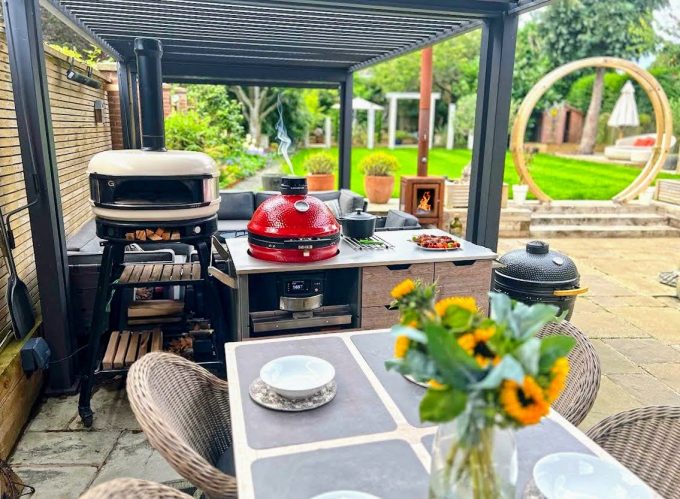
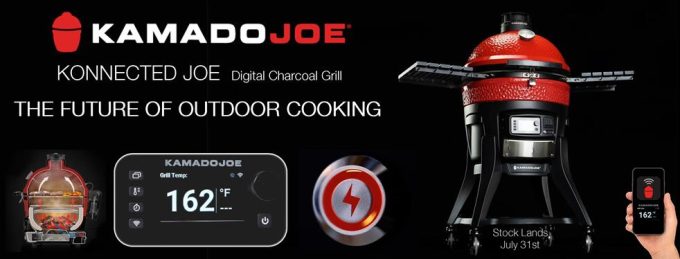
With the arrival of Kamado Joe’s NEW KONNECTED JOE Digital Wi-Fi Charcoal Ceramic grill, we have many customers with Kamado Space Infinite Island Kamado Tables, wishing to upgrade their grills, and asking will a Konnected Joe fit in my table ? Well we’re delighted to confirm YES IT WILL – and the results are spectacular..
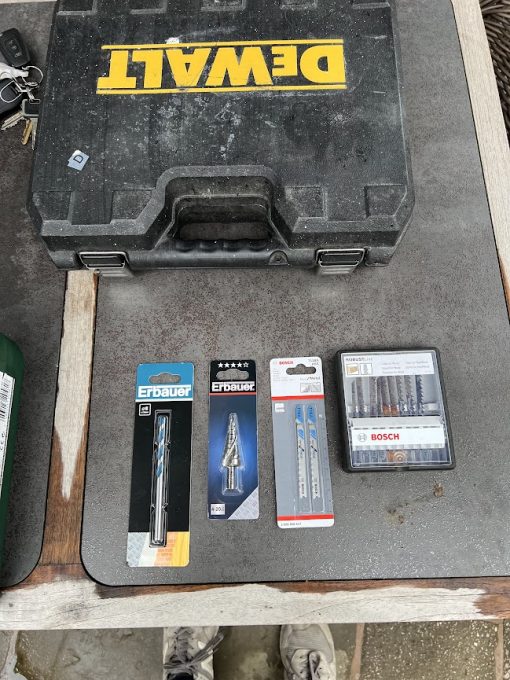
Here is the process: with a few basic tools, and about 1.5 hours easy DIY work, here’s what we did
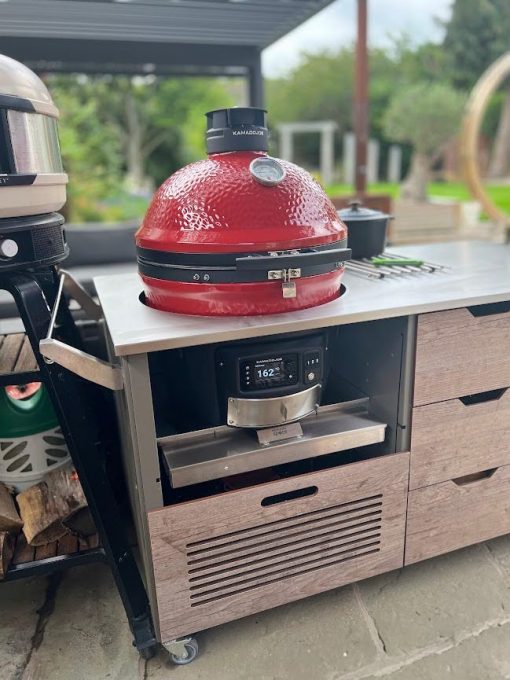
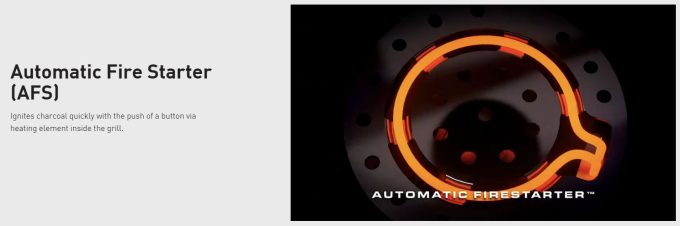
The NEW Konnected Joe, has an integral fan assisted ventilation system, in addition to the sliding door manual top and bottom vents found on all the other Kamado Joes
When constructed it’s included standard wheeled cart / stand, this vent on the underside of the grill is placed over an aperture in the black stand, and air is drawn in


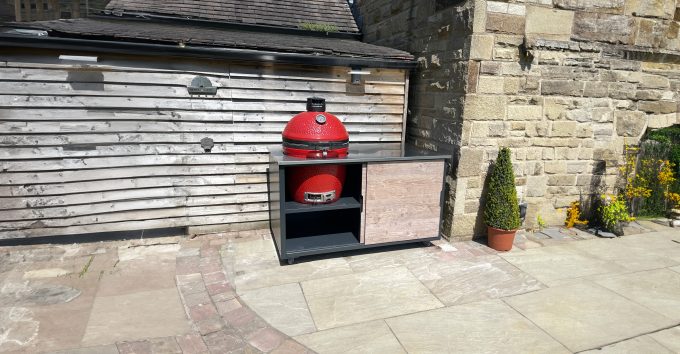
However when placed in a KamdoSpace Table | Your own outdoor kitchen | or our new BIG4SPACE Kamado Tables, and used a stand-alone grill, amendments need to be made to the shelf that a Konnected Joe sits on, to allow the vent to operate correctly

This was a very rough 1st attempt, but works perfect well, the rough sawn hole wont be seen, once the grill in in place

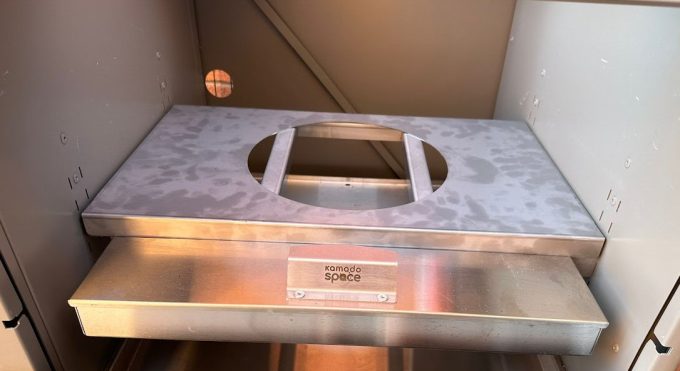
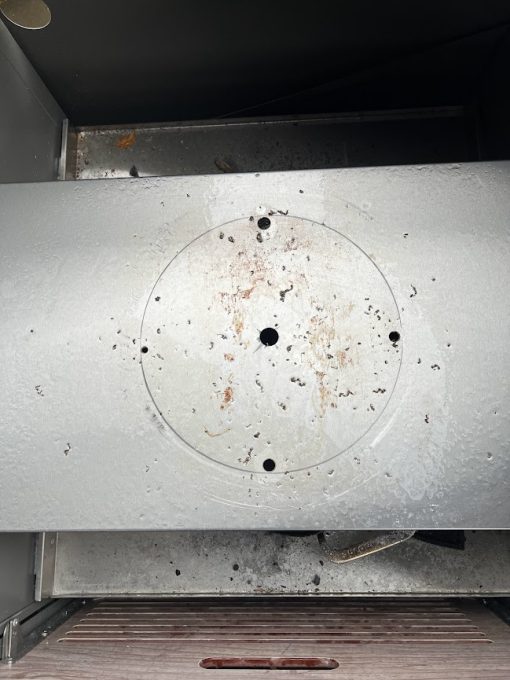
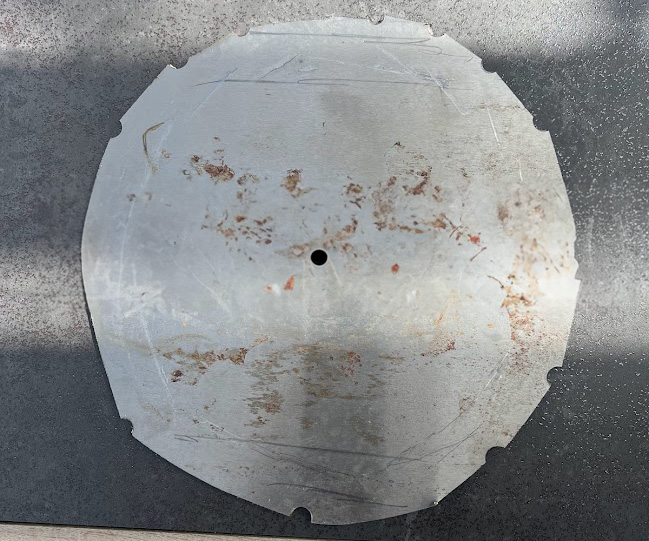
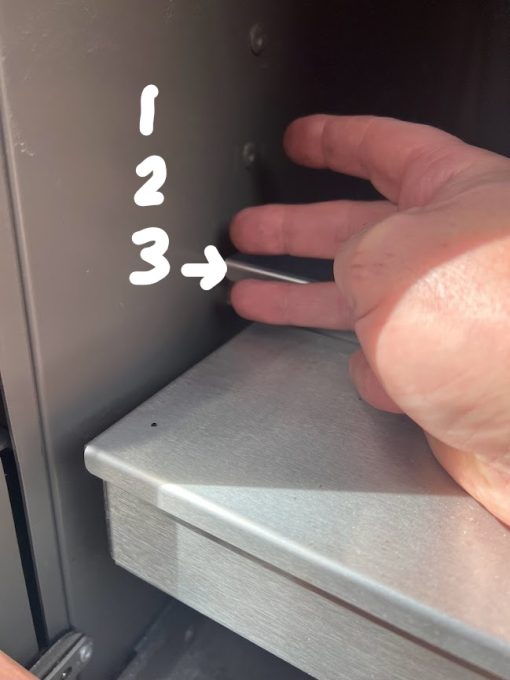
Here is a much better neater example of a perfect 30cm diameter hole, cut in the stainless steel shelf – Well done Dave 😉

Initially we made a cardboard template, tracing the footprint of the Konnected Joe, and the central ventilation hole, which is mentioned in the manual, and can confirm needs to be 30cm in diameter, a copy of this template is available if you like one posting or call and see us at Birstall
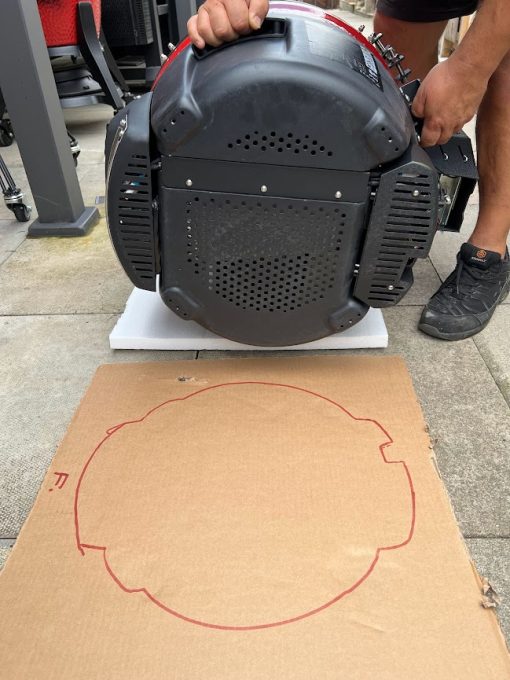

We already had a BONO 25″ Kamado in the table, and were fortunate to be able to see where the grill sits in relation to the aperture in the worktop, turns out, it is completely symmetrical to the round hole above, but it did help to see the central point, so we marked this & scribed a 30cm diameter hole, using a 12″ dinner plate in the end
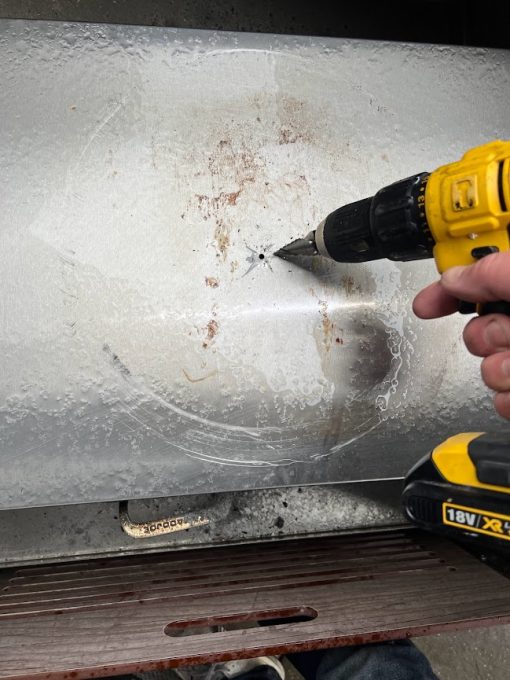
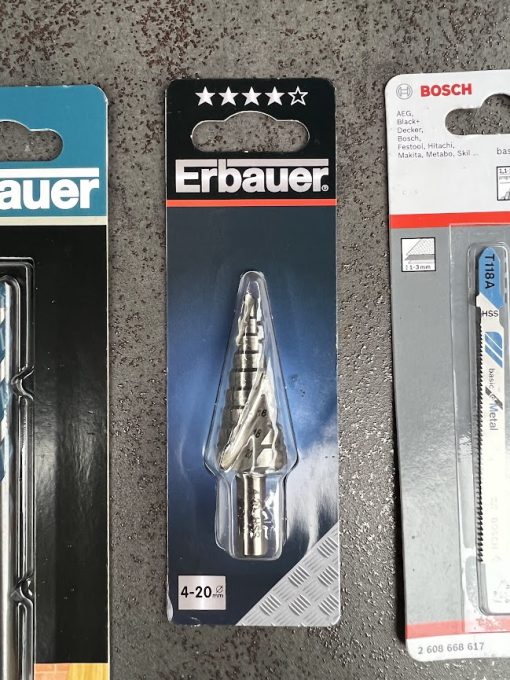
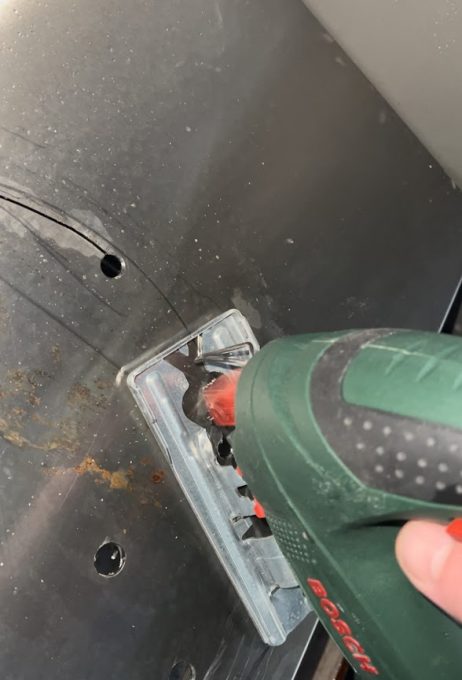
Best tool for sure was a step drill bit for metal, under £ 20 and went through the stainless steel easily, we left the shelf in place, as it was supported well on the frame, and the tray underneath caught all the drill shaving bits
A dozen or so holes later, then a few jigsaw cuts, and we had a perfect although a little scruffy ventilation hole, a quick metal file to remove and sharp edges & we’re done
Now it’s time to swap the stainless steel worktop, from the BONO 25″ to the NEW Kamado Joe 22.5″ With rear hinge cut out, the Konnected Joe is exactly the same body diameter as a regular Classic I | II or III – we have a number of replacement KamadoSpace worktops available @ £ 150 should you need one, or if upgrading from a Classic I, II or III your existing table top is correct and you’ll not need to replace this
This is the fiddly bit, and involves removing 6 bolts (3 front & 3 rear) in order to remove the top, you’ll need to remove the top drawer of the central 3, and possibly the right hand tall charcoal drawer, depending on how far you can reach, to get to the back allen key bolts, it’s an awkward reach, and top tip is slight bend the aluminium blocks downwards, out a little with a screw driver or allen key, so that you have opportunity to bend up a little while aligning the bolts, as you cant get a grip to pull them down, a helping hand pushing down on the table top will also help, as this will compress the rubber seal slightly while you line up the bolts, take care when placing the new top, as it’s a very tight, well engineered fit, and avoid bending the threaded blocks in when doing this
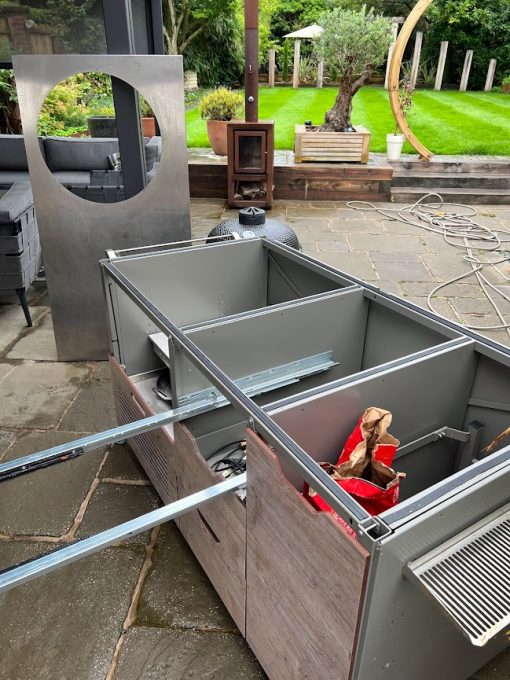
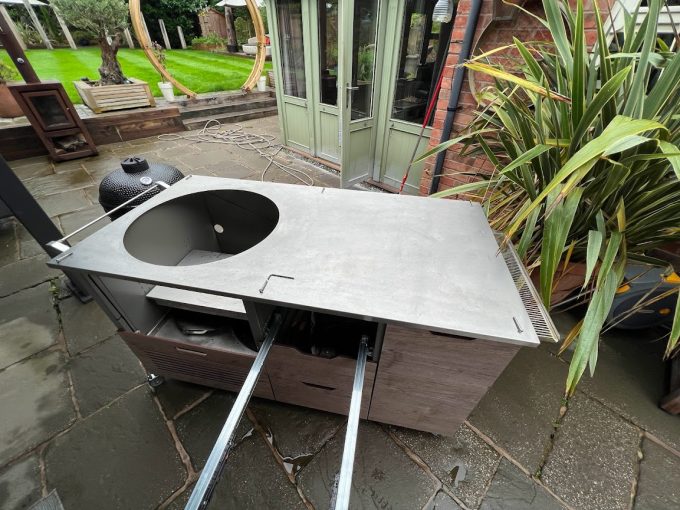
All done & ready to nest the new grill
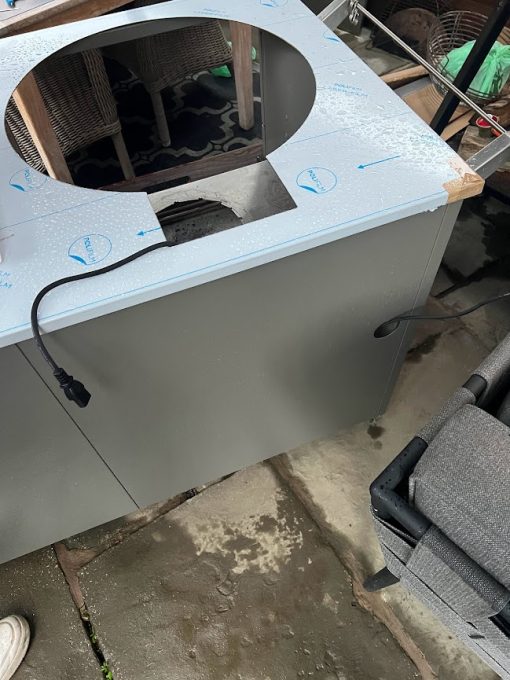
Remember to thread the Konnected Joe’s power cable through, connect this to the Joe, turn on the rear red switch, it’s OK to leave this on as there is a front switch on the control panel, and we has a switched outdoor socket, you can just about reach around the Joe to do this later, but easier in advance
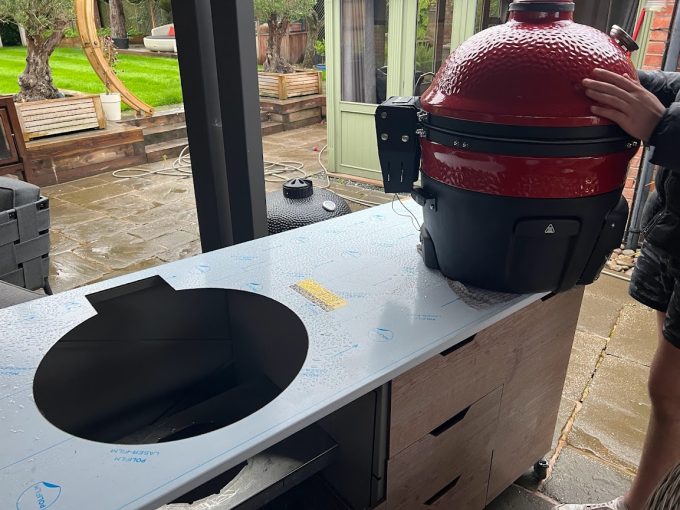
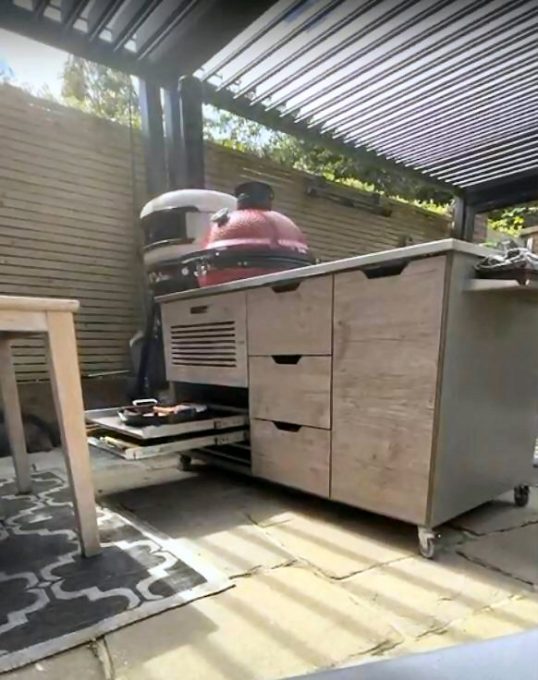
Ensure you have located the nesting shelf, at the 3rd position down, there are 6 positions, 3rd down works best, and you have room for a JoeTisserie bracket & motor on the table top clearance, and plenty of finger room for the front lid latch
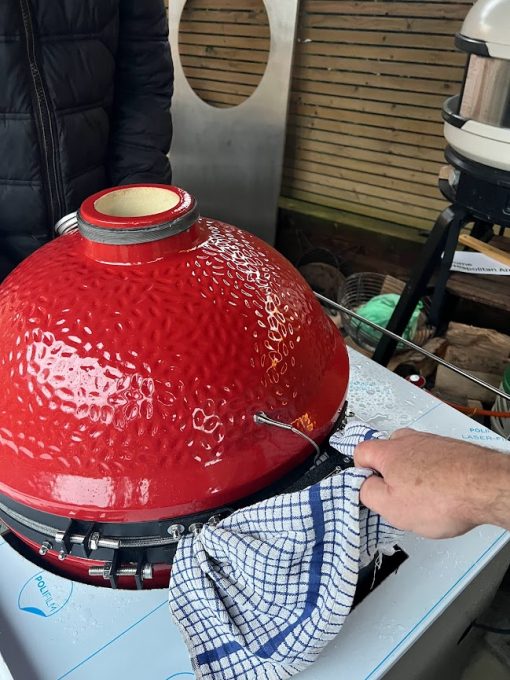
The new Konnected Joe has handy lifting handles as standard. 2 integral at the sides, and 2 which are bolted on at the rear, we removed these 2 rear bolt on handles, as they stuck out a bit too far to make lowering in easy, the integral handles don’t stick out much & don’t effect the overall diameter
Safest was to lift the Kamado in to the table is one person at the front, using the handle as a lift, and one person at the back, you can’t use the hinge as gripping point, as you’ll trap your finger as you lower the grill, trapping a towel in the rear of the lid worked a treat & created 2 good gripping handles to make lifting in easy, a Konnected Joe is quite a bit lighter weight than a standard Classic as some of the lower ceramic elements are replaced by the fan, black PVC and control board
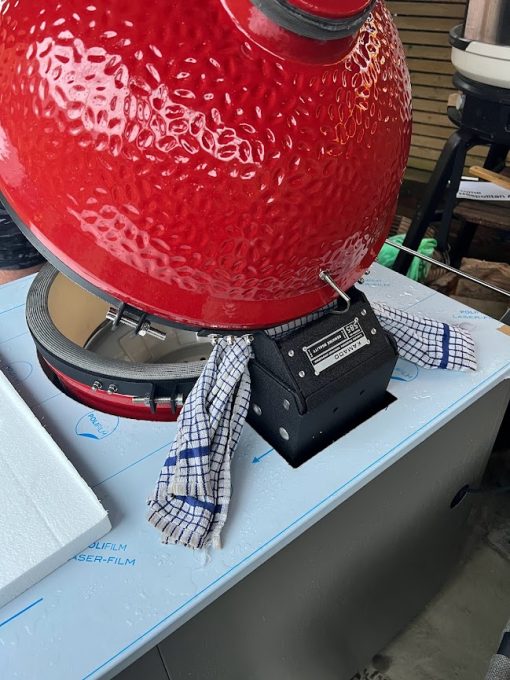
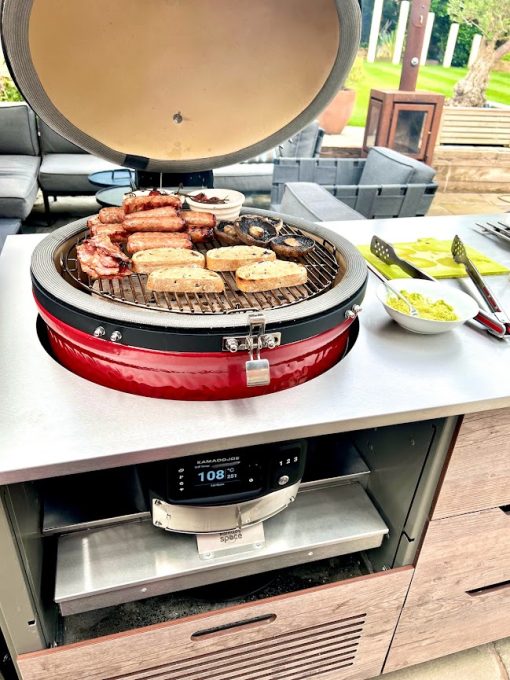
The main body & weight of the Konnected Joe is fully supported on the nesting shelf, with the control panel board slightly protruding, this is fine & grill remains balanced
Joes sits perfectly and allows the up / down ventilated panel to raise as lower as intended
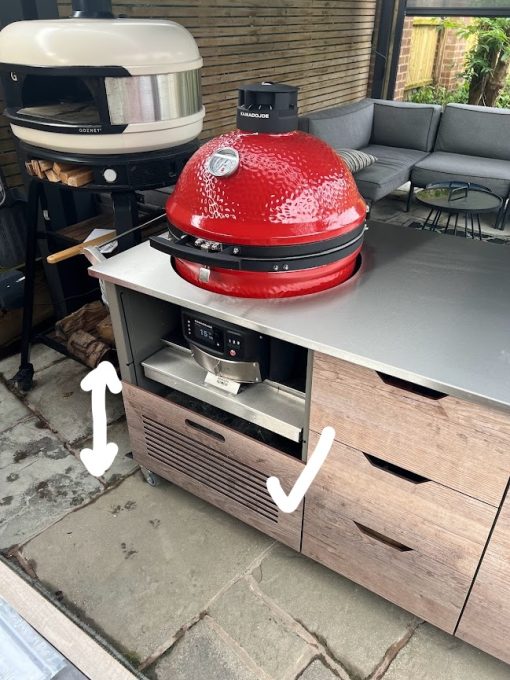
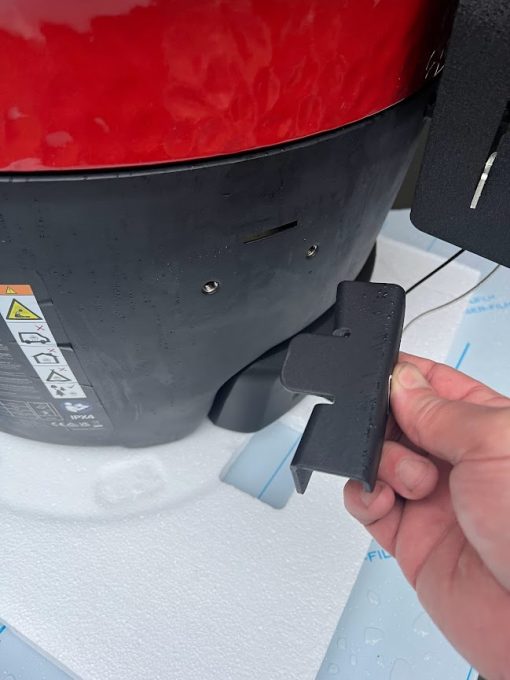
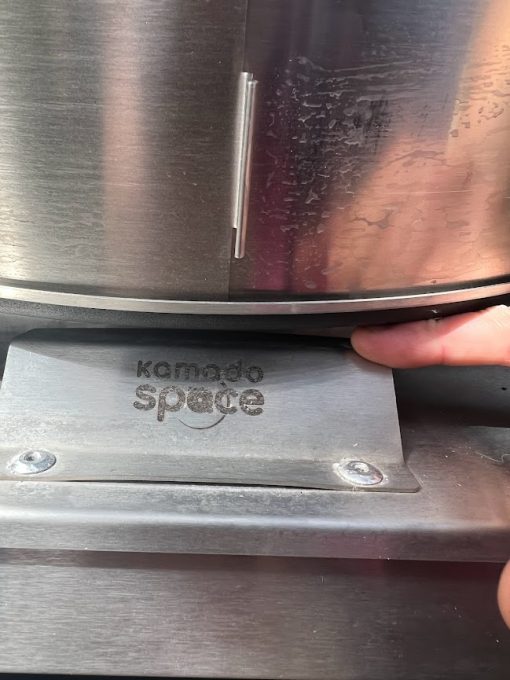
All we had to do is slightly bend down the ash tray handle with the KamadoSpace logo on, a couple of cm, and everything fits brilliantly
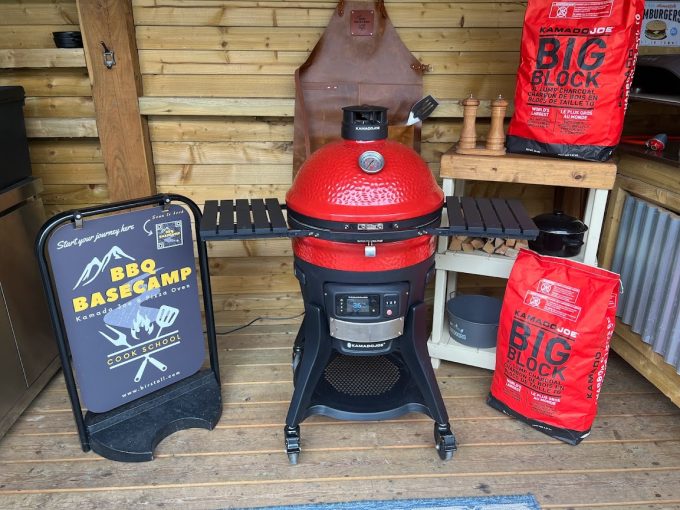
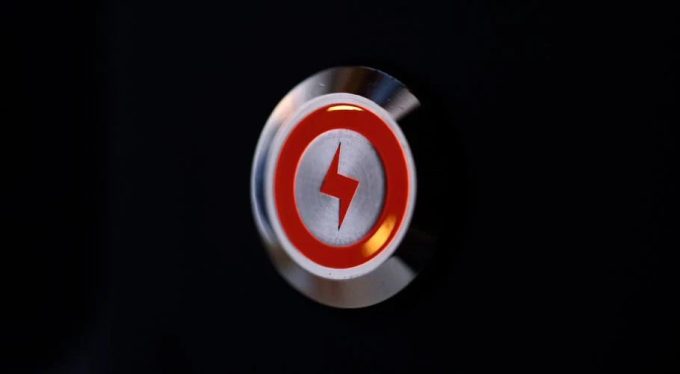
Delighted with the final result, WOW ! what a grill this is.. GAME CHANGER.. The Auto Ignition System has transformed the way we light the Joe now, load with fuel (or leave loaded) and simply press the AFS Ignition button & the electric coil element under the charcoal in conjunction with the integral fan does it all for you.. 150 Degrees C. in just 15 minutes, 200 C in less than 20 minutes.
The control panel reminds you close the lower vent & at what position to set the top vent, slightly open for low temps, and 25% | 50% increments depending on what temperature you have set. You can literally press this button and walk away, and let the Konnected Joe get up to temp without standing by it, using fire lighters or wondering how long to leave the lid open, and what positions to set the vents at.. Leaving you time to prepare breakfast in our case, and come back to a perfectly set 200 C grill ready to use – never again will you overshoot your required temperature during start up.
Konnected Joes can be ordered here or call 0116 267 7091
BIG4SPACE Kamado Tables details here
In a choice of 2 sizes to suit Kamado Joe Classic I | II and III and also BIG JOE II and III series
Big Joe III in BIG4SPACE 180cm Kitchen Island
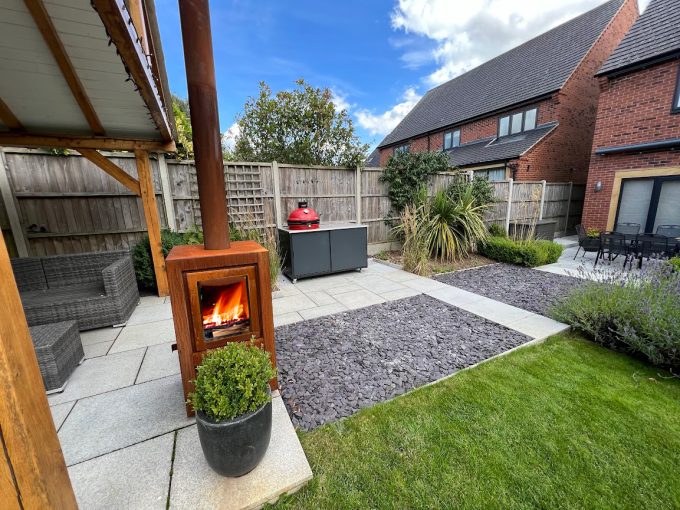
Kamado Joe Classic III Stand-Alone Grill in BIG4SPACE Carbon Grey 150cm Table with Cor-Ten Steel Outdoor Fire
Published August 8th, 2023 by Jordan. Article ref 8723
« Konnected Joe – The Future of Outdoor Cooking – Kamado Joe | HORL 2 Roller Grinder Knife Sharpeners »
Start Shopping

Help | Site Plan | Garden Solutions | Terms & Conditions | Privacy Policy | Accessibility
Freephone 0800 085 0005 Direct Line 0116 267 7091 Directions & How to Find Us
Birstall Garden & Leisure, 27-35 Sibson Road, Birstall, Leicester, LE4 4DX, United Kingdom
© 1998-2025. All rights reserved.